
It was a real treat to see how the individual pipes are made and repaired. I have to thank the people at Wicks Pipe Organ for doing the repairs and letting me watch.
| Philip Underwood presents a photo documentary of pipe repairs by Wicks Organ Company. | |
|
|
After several moves my Diaphone resonators had become dented and bent. The tone was suffering and they just looked bad. I took them to Wicks Pipe Organ Company for repair. I contacted Jim Schmidt and set up a date to have the repairs done. They allowed me to watch them do the work and take pictures. |
|
|
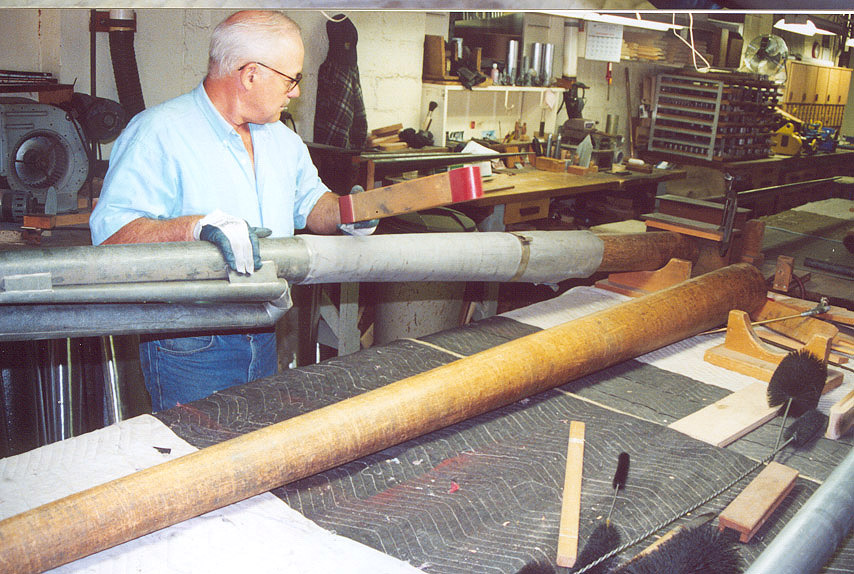
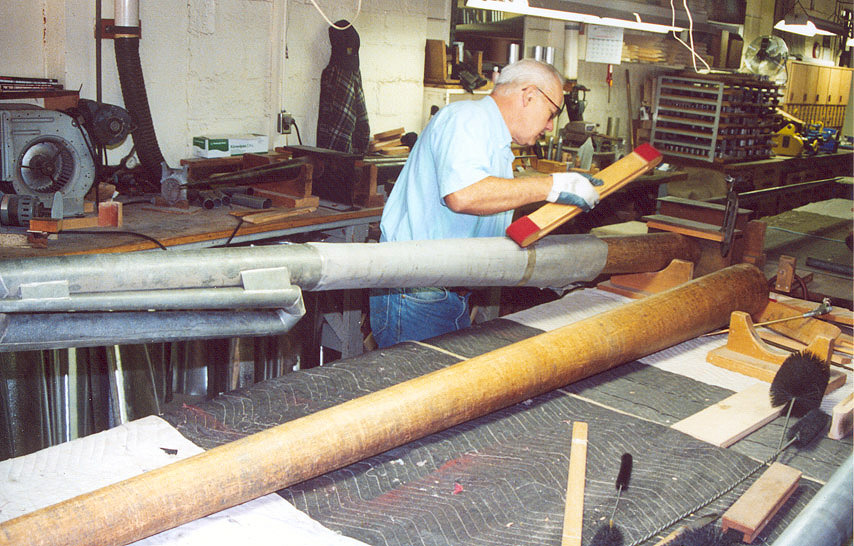
In the first picture (picture diawrinkleda.jpg) Wicks employee Frank Michaelis had placed the diaphone on a wooden mandrel to smooth out the wrinkles. As you can see the lead is very wrinkled from past repairs and damage. Frank then takes a wooden "padle" and carefully smooths out the lead (pictures diawrinkledb.jpg and diawrinkledc.jpg). He does this by carefully striking the padle against the lead and smoothing it out with the mandrel acting as a backer for the pipe. |
|
|
Since the pipe was larger then the mandrel, and so they did not have to take the pipe apart, he turned the pipe while smoothing the lead. When he was done you could not tell that the pipe had been damaged. |
|
|
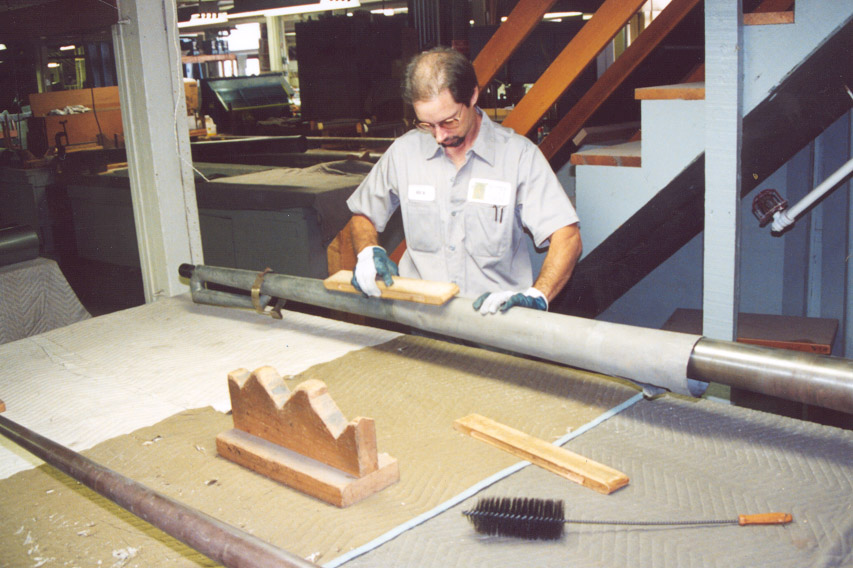
While he was doing this another Wicks employee, Rick Renko, was working on a severely dented resonator. He also placed the pipe on a mandrel but this one was metal (picture diadenteda.jpg). He was also able to repair this one without taking the pipe apart. |
|
|
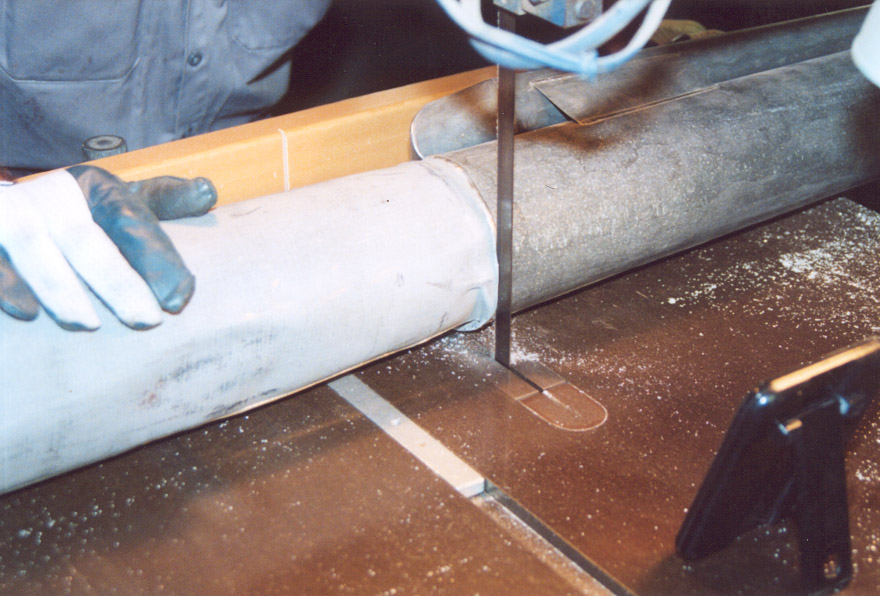
While trying to repair another severely dented pipe, It was decided that the pipe would have to be taken apart. They put the resonator in a band saw and sawed the pipe apart at the seam between the lead and zinc portions (picture diadentedb.jpg). |
|
|
It was a little unnerving to watch them saw the pipe apart! The each section was straightened and squared. The resonator was then placed into a soldering jig and soldered back together (diadentedc.jpg). |
|
|
As you can see in picture diadentedd.jpg the pipe looks as good as new. There is just a very small wrinkle mark left on the lead. |
|
|
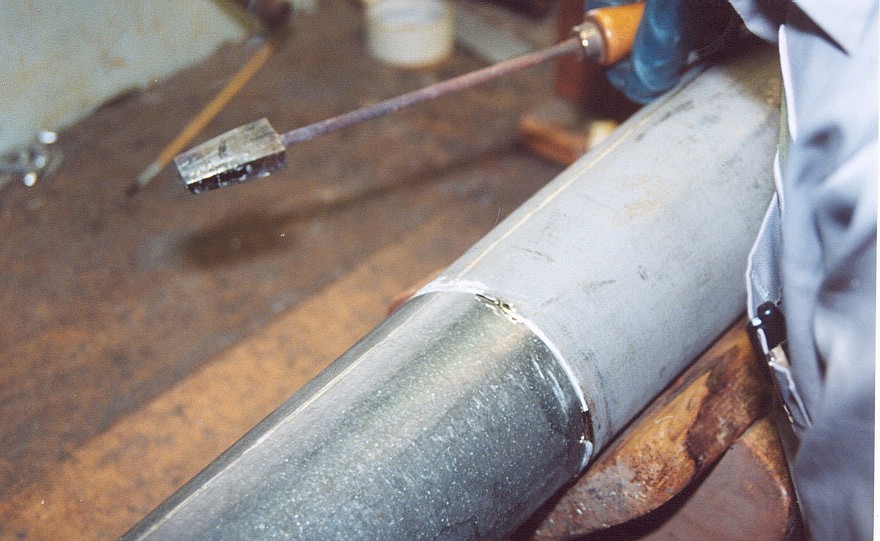
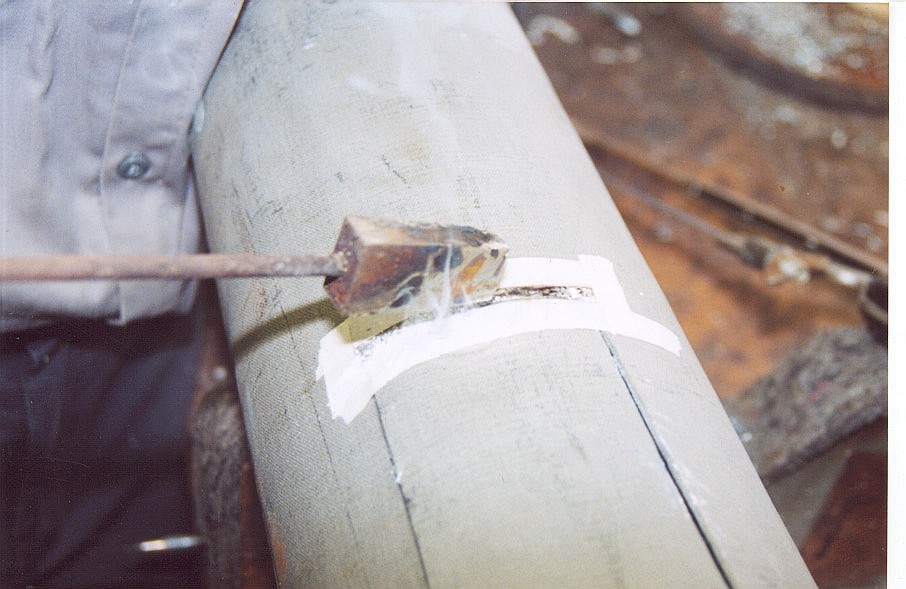
On two of the pipes the tuning scroll had become damaged and in danger of falling off. They were able to repair the scrolls without replacing them. The first thing that was done was to clean the joint and prepare it for soldering (scrollrepaira.jpg). |
|
|
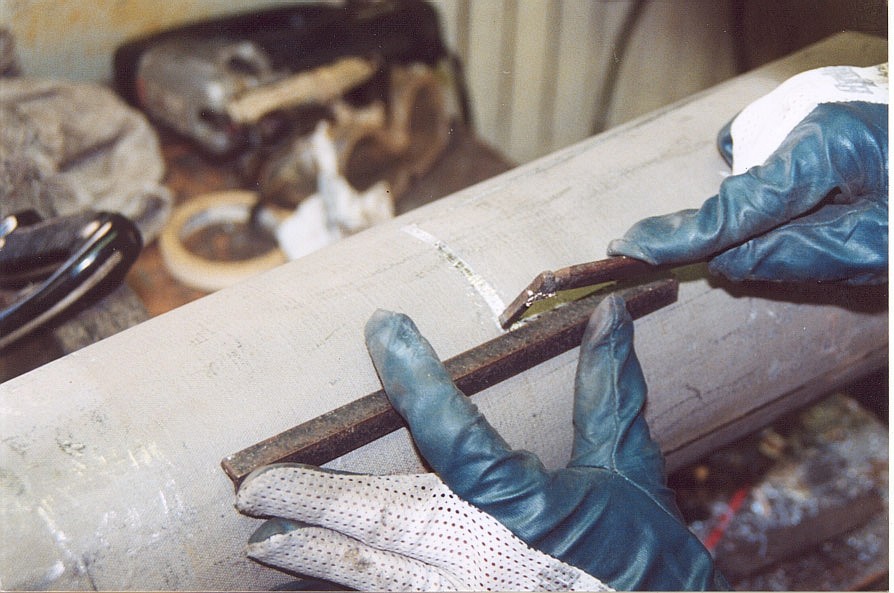
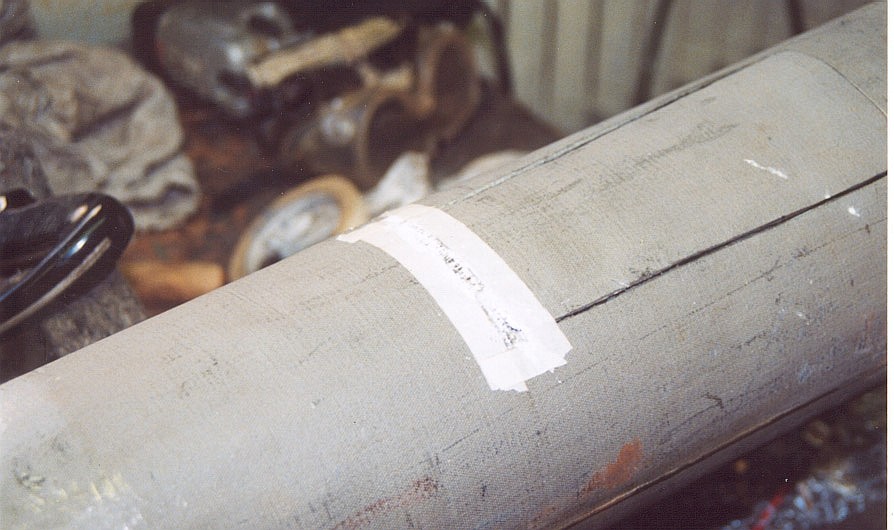
Then the area to be soldered was taped off and flux was applied to the lead (picture scrollrepairb.jpg). Then solder was applied to reinforce the damaged area (picture scrollrepairc.jpg). |
|
|
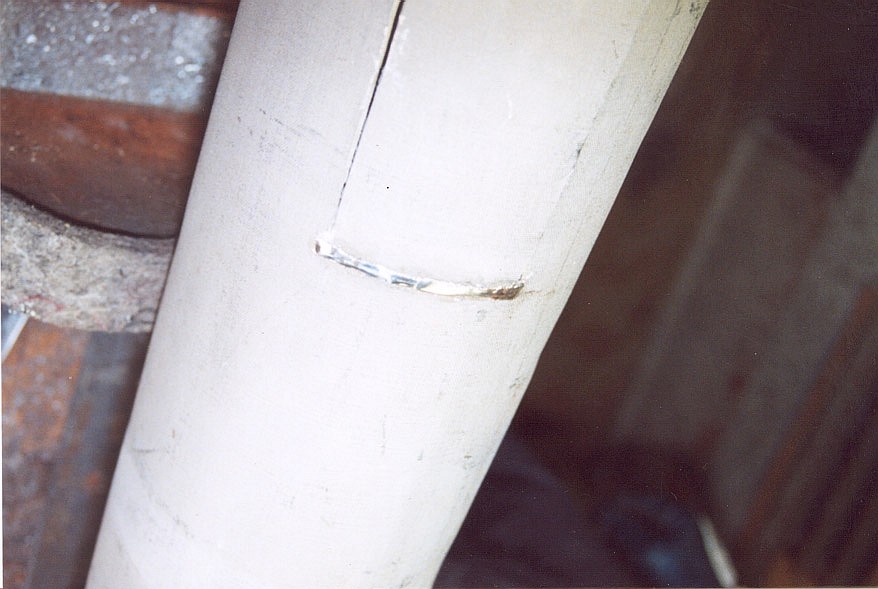
The finished repair only has the thin solder joint left as evidence that the pipe had been repaired (picture scrollrepaird.jpg). They would have made a new tuning scroll if I had wanted one but I wanted to retain as much original material as possible. |
|
|
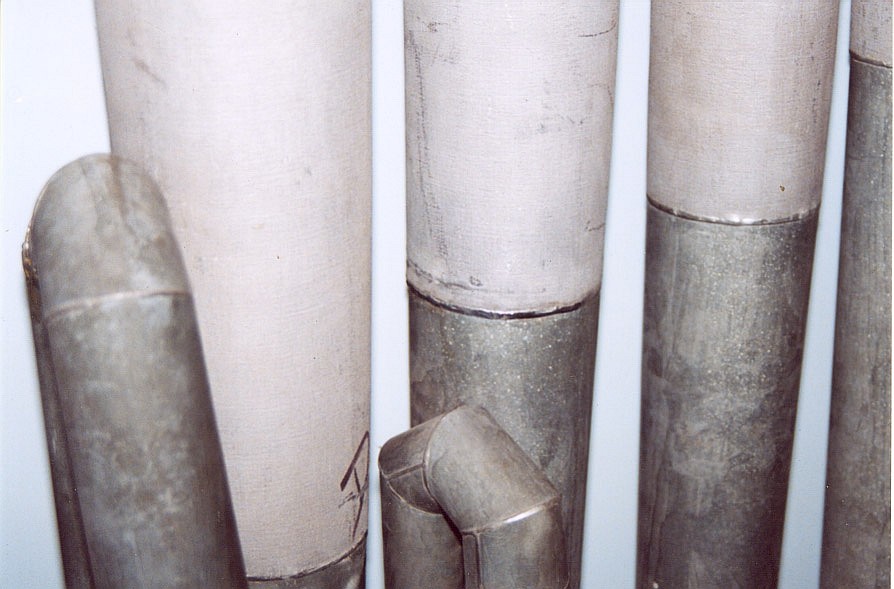
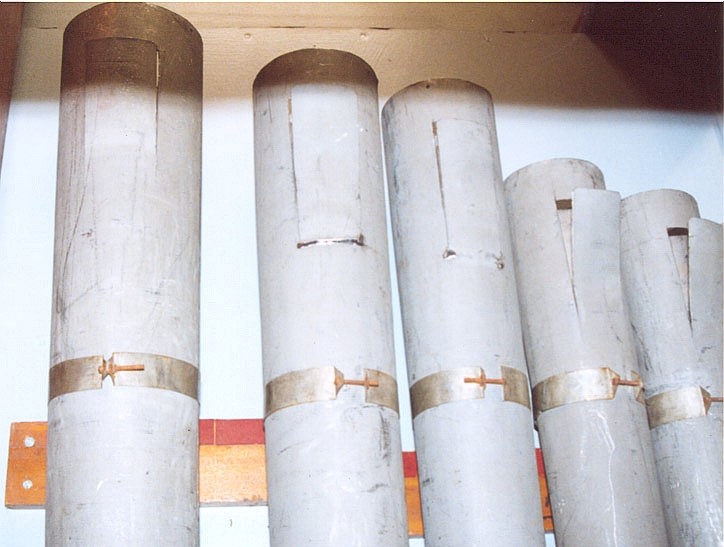
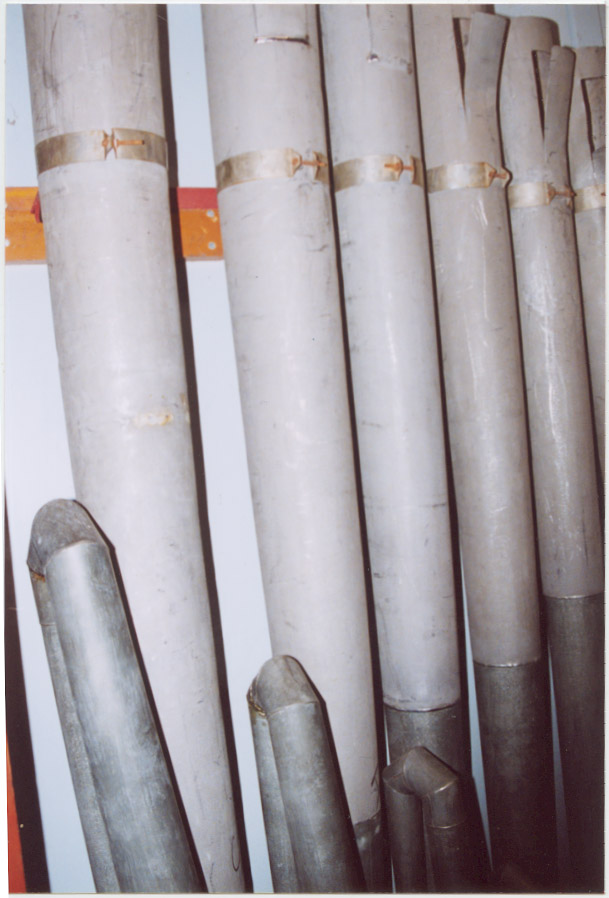
As you can see in pictures diadonea.jpg and diadoneb.jpg the finished results look good. Except for some minor surface blemishes the pipes look like new. The tone of the pipes has improved and the tuning is more stable. I could have avoided the repairs by properly storing the pipes in a vertical position. |
|
|
They were also improperly mounted on their side for several years in a basement installation which caused the pipes to sag. I was surprised at the ease in which the pipes were repaired. The craftsmen at Wicks made it look real easy. |
|
|
If you ever get to visit a pipe shop definitly go. The amount of tools
and equipment needed to make and repair pipes is a little overwhelming.
There are templates for cutting the different parts of the pipes, all sorts
of mandrels to make them, special soldering irons, and lots of workbench
space. At one bench I saw at least five different shapes of gas heated soldering
irons. There is all sorts of special machinery to cast and machine the pipe
metal. It was a real treat to see how the individual pipes are made and repaired. I have to thank the people at Wicks Pipe Organ for doing the repairs and letting me watch. |
| Email Phil from this link |