Restoration of The Museum Of Yesterday's National NC-57 Broadcast / Short Wave Receiver
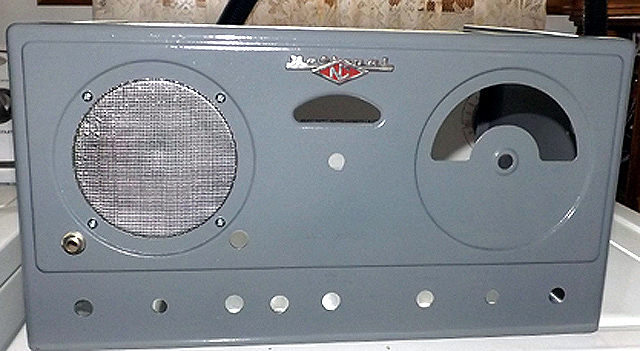
In this photo, the cabinet has been cleaned and repainted. The speaker grill has been re chromed with chromium spray paint. We were able to find an almost perfect match, for the original paint used by National, in a readily available hardware store aerosol can. The National logo can be removed for painting by loosening two nuts on the back of the panel.
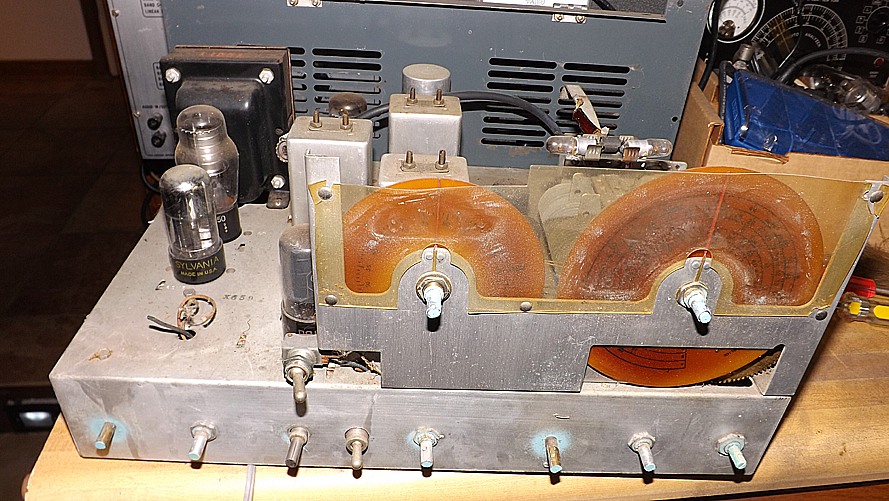
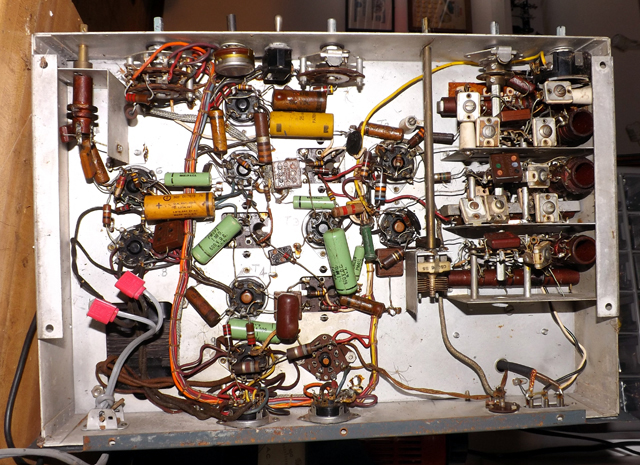
As manufactured, the speaker is hard wired to the chassis which makes it difficult to get to the nuts that hold it in place. When removing the cabinet, a short handle nut driver had to be deployed. When the set is reassembled, we will install a three conductor connector in the three wires running to the speaker mounted output transformer so that the speaker can be plugged into the chassis wiring when it is assembled.
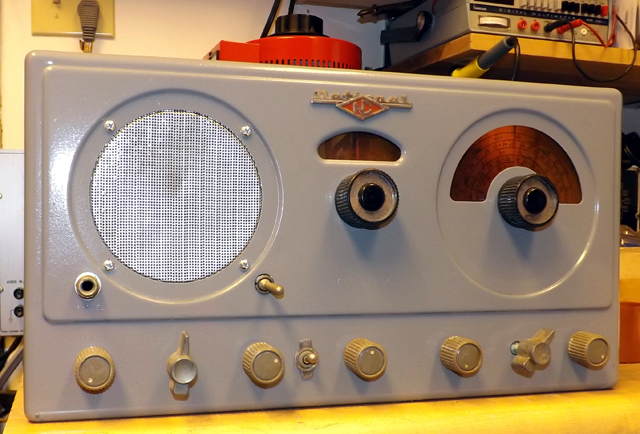
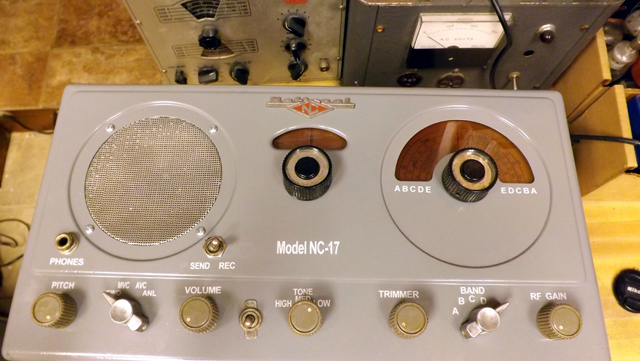
While the extra "power" switch was a modification to the set, probably the result of a previous owner not being able to obtain a replacement volume control with a built-in switch, we decided to leave this in place so as to not have to make an obvious repair to the hole in the cabinet. The decals for the front panel arrived about a week after the main restoration was completed. The photo below shows the final state of the front panel, including the installed decals from Vintage Radio Labels (http://vintageradiolabels.com/). These folks produce custom decals to order.